Following up on the announcements and demos shown at today’s Learn Windows Azure event, I decided to put together a very quick demo that gets you going on Azure with a real app as fast as possible.
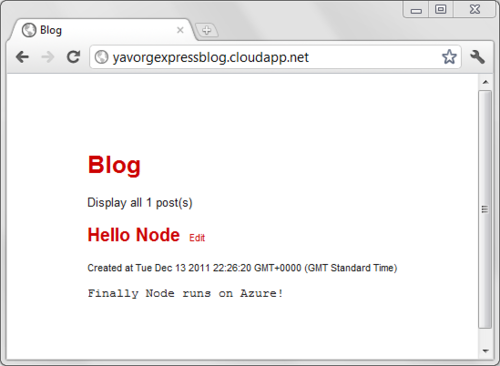
I decided to modify express’ blog sample to use Azure storage, and also pre-configured all the service/role settings that Azure needs so you can get going as fast as possible.
Here is the 5-minute recipe:
- Get your Windows Azure account
- Get the Windows Azure SDK for Node.js
- Get the sample source code from GitHub. If you are wondering where some of the static content in the sample came from, check out this getting started document.
- Get the needed Node packages by running this inside the ExpressBlog\WebRole folder:
npm install
- You should now be able to launch the Windows Azure PowerShell for Node.js shortcut from your start menu. Make sure you run as Administrator. The rest of the steps here should be completed from that shell.
- Download your Azure publish settings:
Get-AzurePublishSettings
- Import the settings:
Import-AzurePublishSettings mine.publishsettings
- Head to the Azure portal and create a storage account under your subscription. Make note of the account name and access key.
- Modify the ExpressBlog\WebRole\Web.cloud.config file where indicated to include the storage settings.
- You are now ready to publish. Anywhere inside the ExpressBlog folder, run the following, making sure you use a unique service name:
Publish-AzureService -Name uniqueServiceName
You’re all done!
Unfortunately things don’t always go according to plan, so in case you get an Internal Server Error or anything else goes wrong after you deploy to the cloud, use this simple trick to debug.
- Inside the Web.cloud.config file, enable logging:
<iisnode loggingEnabled="true" />
- Redeploy the service by simply typing:
Publish-AzureService
- Look at the Node.js log file for hints of what may be wrong at http://uniqueServiceName.cloudapp.net/server.js.logs/0.txt
Read More