Connecting the virtual and physical world: how to build a Minecraft companion app with Azure
25 September 2014
For some time, some coworkers and I have wondered if it would be possible to get Minecraft talking to Azure. The recent news about Microsoft and Minecraft gave us some extra incentive to try out out… so we decided to build a companion mobile app using Azure Mobile Services. The app sends me a push notification if someone enters my house in Minecraft and also lets me check what items I have in my in-game inventory.
The basic design is as follows:
- Certain objects in Minecraft are connected to computers in the game. This includes things like a pressure plate and a chest.
- The computers send HTTP requests to a mobile service, passing in some simple payloads. This is implemented via some simple programs running on the computers.
- The mobile service can store data in a table or send a push notification
- The mobile app is connected to the service to pull table data and receive notifications.
Setting up the mobile service
First, we need to set up endpoints in the cloud for Minecraft to send information to. This is needed because the app can’t talk directly to the game.
- Create a Node.js-based mobile service in the Azure Management portal.
- On the API tab, create a new custom API called notifyallusers, using the code available here. This API simply takes any message passed in the body of the HTTP POST and sends it as a push notification to all subscribed devices.
- Create another API called updateinventory, using the code from here. This API takes any key=value pairs in the body of the HTTP POST and tries to insert them into an Inventory table.
- We need to create the Inventory table, so head over to the DATA tab and create it. You can leave the permissions as is.
- Head over to the PUSH tab and complete sections 1 and 2 of this tutorial to get your service set up to send push notifications. Don’t worry about the server or client code, just do the configuration steps in the portal.
Now your mobile service is now all set up to receive requests. Let’s now go into Minecraft and configure it to send requests.
Minecraft setup
Before we even launch the game, we need to make sure we have the right mod installed, since programmable computers are not part of the game by default. In this example, we used ComputerCraft, which, lets you write simple Lua scripts and run them in the computer.
Once you have the mod running, you need to do the following:
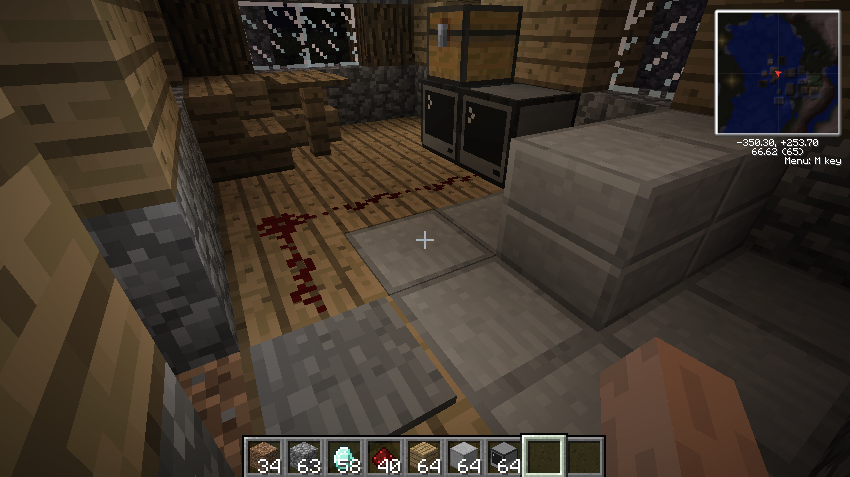
- To monitor the contents of a chest, put a Trapped Chest directly adjacent to a Computer (in my case it was right on top).
- To set up the push notification when someone enters a house, place a Pressure Plate right behind the door. Then put a Computer somewhere nearby. Connect the two by putting down Redstone to connect the two.
- We now need to load the right programs into the two computers. The computer attached to the pressure plate will use the script AlertIntruder and the other one will use the script PostInventory. Be sure to change the URLs in the scripts to point to your own mobile service.
- Typing the script in is quite cumbersome, so it’s easier to use Pastebin as an intermediary. Create a paste with the code and get the ID of the paste.
- In the computer, type pastebin get ID scriptName.
- Now that the script is downloaded locally, you can run it easily by typing it in (with the above example, just type scriptName). If you need to stop the program, hold down Ctrl + T.
- Make sure both scripts are downloaded and running on both computers.
When done it will look something like this:
Run the app
Now that the mobile service is set up and Minecraft is ready to send requests, the last part is to get our app set up and connected to the mobile service.
- Get the source for the app from here and open it in Android Studio.
- Download the right libraries from here and drop them in the lib folder. You’ll need to grab both mobileservices-2.0.1-beta.jar as well as notifications-1.0.1.jar, the other dependencies should get brought down by Gradle when you build your project in Android Studio.
- The last step is to configure the connection information for your mobile service. Copy the file Secrets.java.example and rename it to Secrets.java. You will then need to copy your mobile service URI and app key from the Azure portal and paste them into that file. You will also need your project ID from the Google APIs Console.
You should now be good to go! Stepping on the pressure plate should cause a push notification to fire off on the phone. Opening and closing the chest should trigger an update to be sent to the service. Add or remove items and then use the Refresh button in the app to see the content update.
This quick example is just the start of what you can do with the awesome capabilities provided by Azure Mobile Service. Excited to see what other cool Minecraft hacks you’ll put together using these tools!