Using custom connection strings with the mobile services .NET backend
06 May 2014
UPDATE: The below content is now outdated… we have enabled a first-class connection string picker on the Configure tab of your mobile service. Specify the connection string there, and then you can easily use it exactly the same way as if it were defined in Web.config.
Since we introduced the .NET backend in Mobile Services, with rich support for connecting to existing databases, we have received a lot of questions around using custom connection strings. By default, Mobile Services creates an Azure SQL Database for you and the connection string used to refer to that is named MS_TableConnectionString. Our quickstart and Visual Studio project template uses that connection string by default.
So what do you do if you want to use your own connection string? It depends on what kind of database yo have.
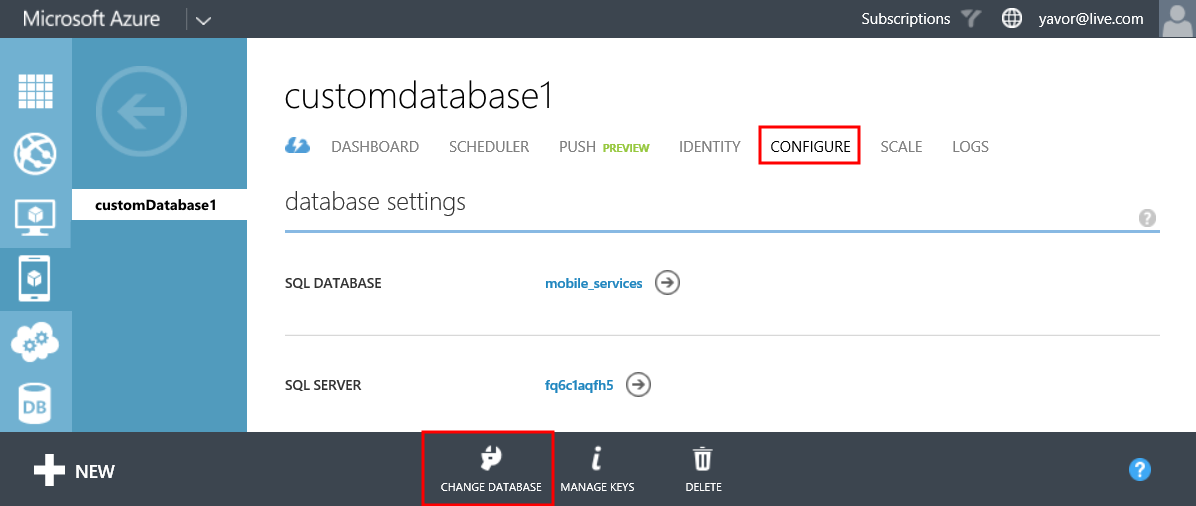
- If your database is a Azure SQL database, just use the nifty Change Database button on the Configure tab of your mobile service. This will directly update the MS_TableConnectionString.
- If you are bringing your own database (for example SQL Server on IaaS), you cannot currently modify the MS_TableConnectionString connection string. We are working on enabling that and adding first-class support for connection string management right in the portal, but for now we have a simple workaround. Read on.
The first thing you need to do is find the App Settings section on the Configure tab of your mobile service. Create a new setting called for example onPremisesDatabase and set the value as your custom connection string.

Inside your app, find the DbContext that your .NET mobile service is using. Modify it as shown below. You might need to add an assembly reference to System.Configuration to your project.
public class customDatabase1Context : DbContext
{
    public customDatabase1Context()
        : base(ConfigurationManager.AppSettings["onPremisesDatabase"])
    {
    }
}
Then simply publish your changes and your service will now use your custom connection string. You are welcome to go and update the app setting in the portal if you need to and you don’t need to re-publish your app for the change to take effect.
Hope this helps!